-
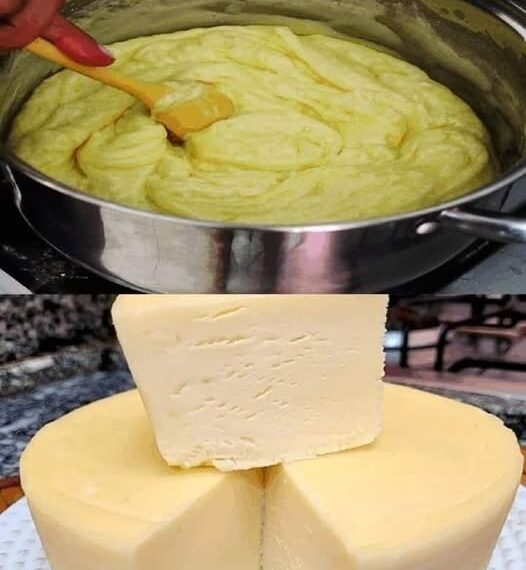
Heat the Milk
Pour your organic milk into a large saucepan and slowly heat it over medium flame until it reaches about 85°C (185°F). Stir occasionally to prevent scorching. -
Add the Acid
Turn off the heat and stir in the lemon juice or vinegar. You’ll notice the milk curdling almost instantly as the solids (curds) separate from the liquid (whey). -
Strain the Curds
Line a colander with cheesecloth or a clean kitchen towel and place it over a large bowl. Carefully pour the curdled milk into the colander, allowing the whey to drain out. -
Press the Cheese
Gather the corners of the cheesecloth and gently squeeze to remove excess whey. For a firmer cheese, place a weight on top and let it press for 1–2 hours. -
Season and Enjoy
Add Himalayan salt or herbs if desired, then slice, crumble, or shape it. Serve with fresh bread, salads, or as part of a healthy protein-rich snack platter.
💡 Tips for the Perfect Homemade Cheese
-
For creamier results, use grass-fed cow’s milk.
-
You can mix in fresh herbs, garlic, or chili flakes for a gourmet twist.
-
Store in an airtight container in the fridge for up to 5 days.
🌿 Health Benefits of Homemade Cheese
Homemade cheese is more than just a delicious treat—it’s a nutrient-dense superfood that supports strong bones, muscle growth, and overall wellness. Unlike store-bought cheese, you control the ingredients, ensuring every bite is pure, fresh, and made with love.
❓ FAQ – Homemade Cheese
Q: Can I make cheese with skimmed milk?
A: You can, but it will be less creamy. Whole milk yields the best texture and flavor.
Q: Is homemade cheese good for keto diets?
A: Absolutely! It’s low in carbs, high in protein, and packed with healthy fats.
Q: What can I do with leftover whey?
A: Use it in smoothies, soups, or as a natural fertilizer for your garden—it’s full of nutrients.