If you cook regularly, chances are your kitchen cabinets aren’t as clean as they look. Over time, steam, oil splatters, and cooking fumes build up on cabinet surfaces — especially those near the stove. Even if they appear clean, they’re probably coated in an invisible layer of grease, smoke, and sticky residue that dulls the finish and traps dust.
Unfortunately, wiping them down with water or all-purpose cleaners rarely cuts through that stubborn buildup. The result? Cabinets that once gleamed now look slightly darker, sticky to the touch, and tired-looking.
But don’t worry — you don’t need expensive cleaning products or harsh chemicals to bring your cabinets back to life. In fact, one clever DIY trick can make them shine like new again using only two simple ingredients you already have in your kitchen.
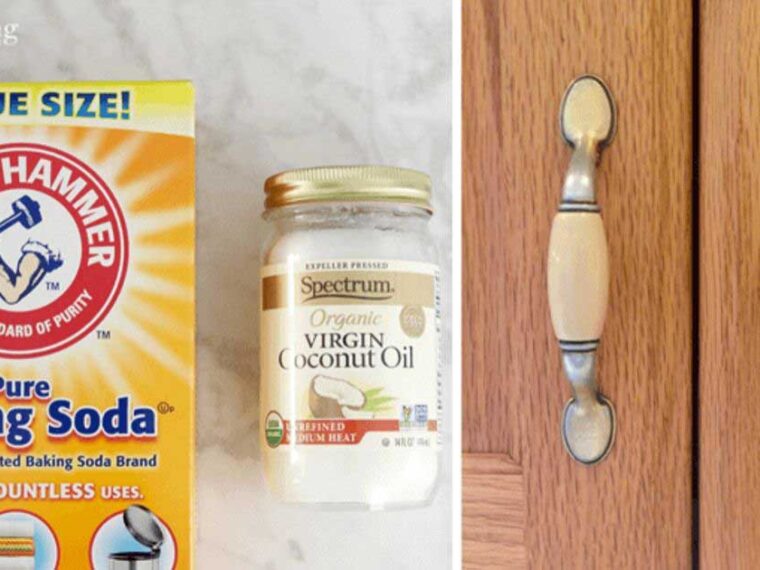
🌿 The Secret Cleaning Duo: Baking Soda + Coconut Oil
This powerful natural combo comes from Jillee of One Good Thing by Jillee, who discovered that the grittiness of baking soda and the greasy dissolving power of coconut oil work together perfectly to lift years of buildup off your cabinet surfaces.
-
Baking Soda: A mild abrasive that gently scrubs away dirt and grease without scratching the surface.
-
Coconut Oil: Breaks down oily residue and restores natural shine to wood or laminate finishes.
Together, they create a smooth paste that cleans, polishes, and protects your cabinets — all without the harsh smell or dryness caused by commercial degreasers.
🧴 What You’ll Need
-
2 parts baking soda
-
1 part coconut oil
-
A small bowl for mixing
-
A soft cloth or sponge
-
An old toothbrush (for corners and crevices)
-
A damp microfiber cloth (for wiping away residue)
🪄 Step-by-Step Cleaning Method
-
Mix the Magic Paste
In a small bowl, combine two parts baking soda with one part coconut oil. Stir until you have a thick, gritty paste. The texture should be similar to wet sand — not too dry, not too oily. -
Apply the Mixture
Using your fingers or a soft cloth, spread the paste directly onto your cabinet surfaces. Pay special attention to handles, corners, and the areas above the stove — these spots usually trap the most grime. -
Scrub Away the Grease
Use an old toothbrush to work the paste into detailed edges, trim, and other hard-to-reach areas. You’ll start to see the mixture lift away yellowish or brown residue that’s been clinging for months (or even years!). -
Wipe Clean
Once you’ve scrubbed the surface, take a slightly damp microfiber cloth and wipe away all excess paste. You’ll immediately notice the difference — the dull, sticky film disappears, and the natural sheen of your cabinets returns. -
Buff for Extra Shine
For a finishing touch, use a clean, dry cloth to buff the cabinets in circular motions. The remaining trace of coconut oil will give them a soft, polished glow — without leaving them greasy.
🧼 Pro Cleaning Tips for Best Results
continue reading in page 2