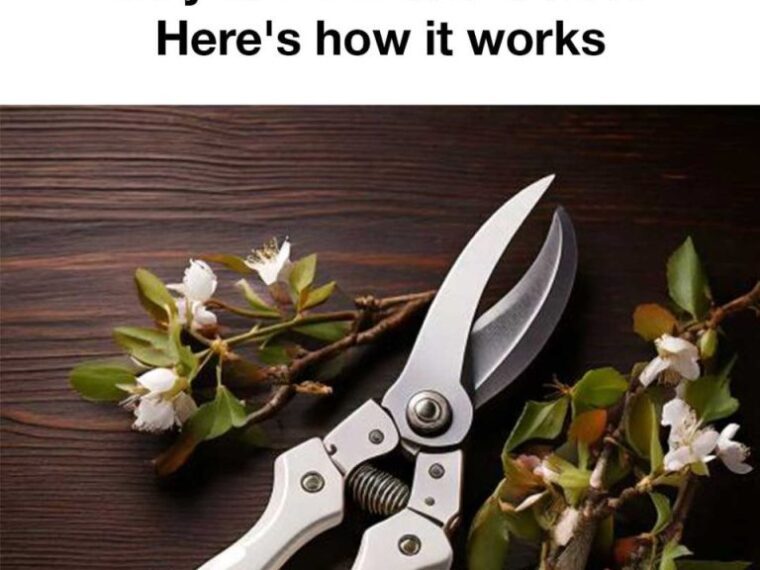
- Clean the Pruners
- Use a damp cloth to wipe away any dirt, sap, or debris from the blades.
- Dry thoroughly to prevent rust.
- Fold the Foil
- Take the aluminum foil and fold it over several times until it’s a thick strip (about the width of a few stacked business cards).
- This creates a compact sharpening surface.
- Cut Through the Foil
- With firm, even pressure, use the pruners to make 10–20 snips through the folded foil.
- The repeated motion helps to hone and polish the cutting edge.
- Be sure to open and close the pruners fully with each snip.
- Check the Blade
- Test the sharpness by snipping a piece of paper or a soft plant stem.
- If needed, repeat the foil-cutting process.
- Oil and Protect
- Wipe the blades again with a clean cloth.
- Apply a tiny drop of oil to the hinge to keep the motion smooth and rust-free.
🔁 How Often Should You Do This?
- Light garden use: every 1–2 weeks
- Heavy pruning or sap-heavy plants: once a week
- For very dull or nicked blades, consider using a sharpening stone or file every few months.
🌸 Extra Tip: Store Pruners Properly
- Keep them in a dry place.
- Store with the blades closed and locked to avoid dulling or damage.
❤️ Why Nana’s Trick Still Works
In a world of high-tech gadgets and overpriced tools, sometimes the best solutions are the simplest. My nana’s aluminum foil method proves that you don’t need fancy gear to keep your gardening tools in top shape. It’s affordable, effective, and something anyone can do at home.
So the next time your pruners feel a bit sluggish, don’t toss them—treat them to a quick foil tune-up, just like Nana did.
Pages: 1 2


